Installation
Prepare files and server
Download the script, upload the files to the server and extract the files
INFO
Please verify that you can see the hidden files such as the .env file and that this file exists, otherwise it may cause problems for the installer.
How to see hidden files
cPanel
- Login to cPanel as the cPanel user.
- Click on the "File Manager" icon.
- Click on the "Settings" button in the upper right corner.
- Check the "Show Hidden Files (dotfiles)" checkbox.
- Click the "Save" button.
Plesk
- Click on Settings in the top right.
- Check that Show system files and directories is ticked and click Save.
MacOS
- Click the Finder icon in your dock to open Finder.
- Open Mac Finder to start revealing hidden files on your Mac.
- Navigate to the folder where you want to find hidden files.
- Press Command + Shift + . (the period key). This will show hidden files in the folder.
- To hide the files again, press Command + Shift + . again.
Windows 11
- Open File Explorer from the taskbar.
- Select View > Show > Hidden items.
Windows 10
- Open File Explorer from the taskbar.
- Select View > Options > Change folder and search options.
- Select the View tab and, in Advanced settings, select Show hidden files, folders, and drives and OK.
Ubuntu
- Go to that folder and either press the menu button in the top-right corner of the window and select Show Hidden Files, or press Ctrl+H.
├─ app
├─ bootstrap
├─ config
├─ database
├─ lang
├─ node_modules
├─ public
├─ resources
├─ routes
├─ storage
├─ tests
├─ vendor
├─ artisan
├─ .editorconfig
├─ .env                     # config file
├─ .env.example
├─ .eslintignore
├─ .eslintrc
├─ .gitattributes
├─ .gitignore
├─ .prettierignore
├─ .prettierrc
├─ composer.lock
├─ phpunit.xml
├─ postcss.config.js
├─ tailwind.config.js
├─ composer.json
├─ package-lock.json
├─ package.json
├─ tsconfig.json
└─ vite.config.ts
Configure the server so that the startup folder is /public
The Public Directory
The public directory contains the index.php file, which is the entry point for all requests entering your application and configures autoloading. This directory also houses your assets such as images, JavaScript, and CSS.
https://laravel.com/docs/10.x/structure#the-public-directory
How to configure in cPanel
- Open the file manager

- Delete
public_htmlfolder
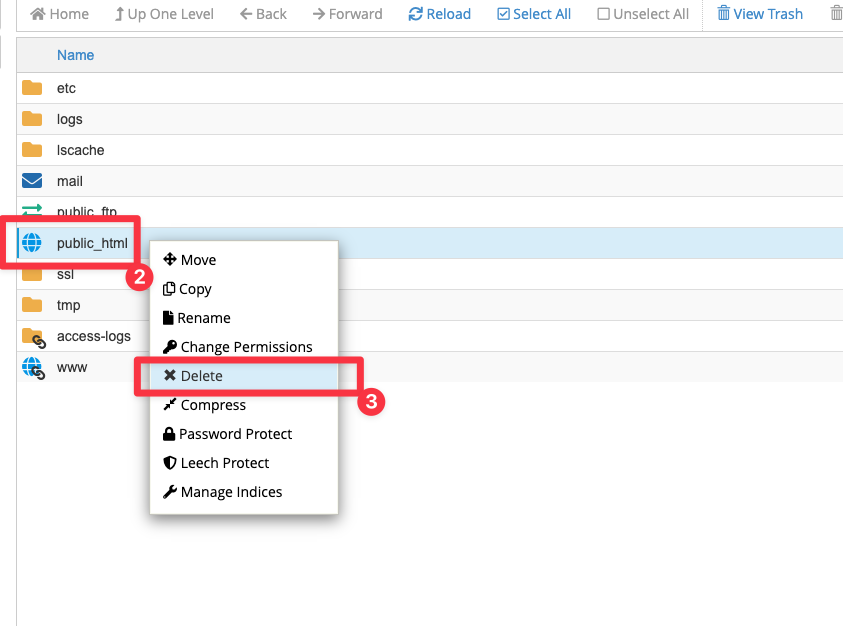
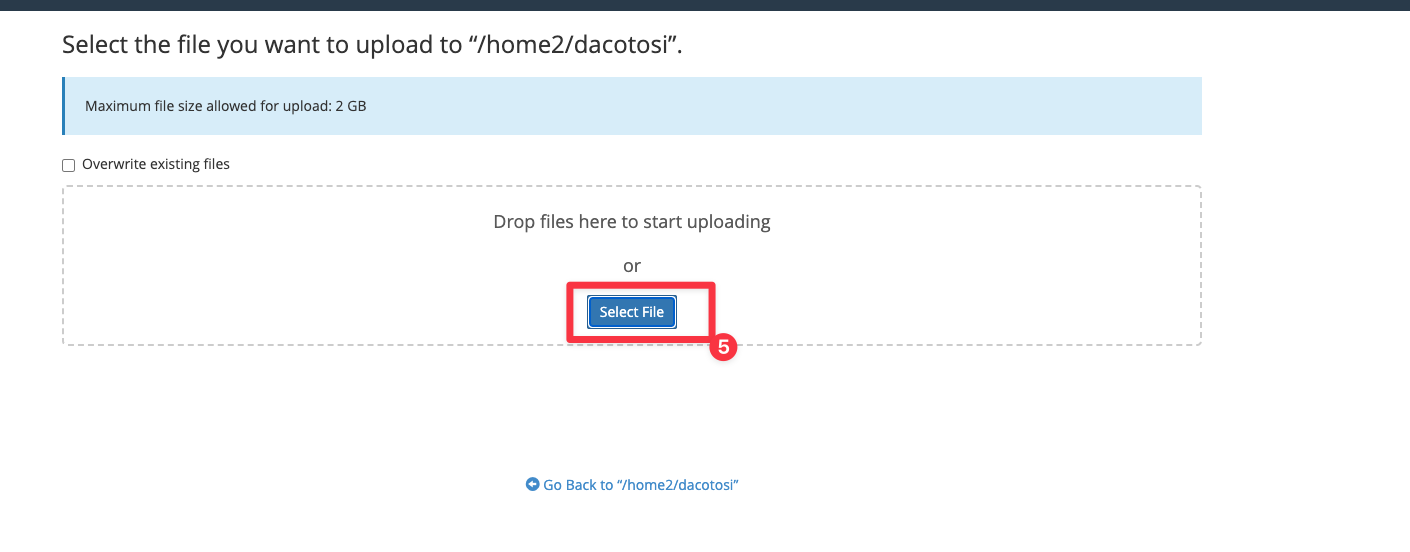
- Open the file manager uploads page
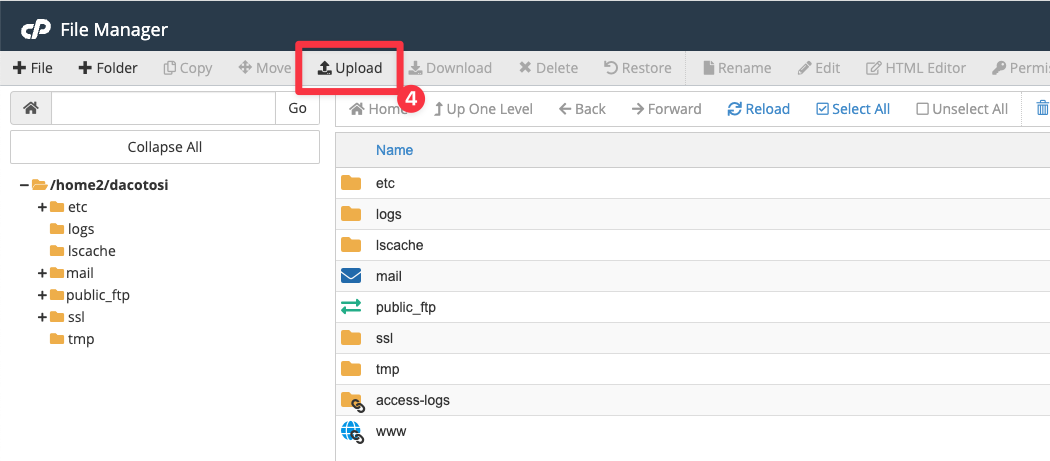
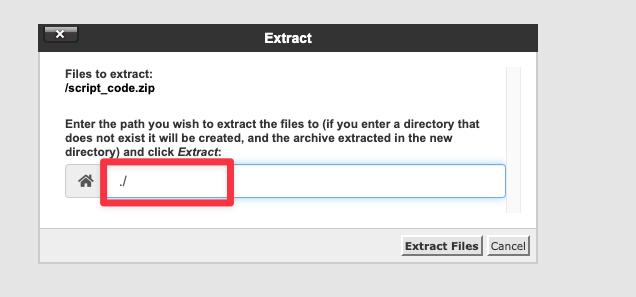
- Select the script zip files
- Extract files to the root
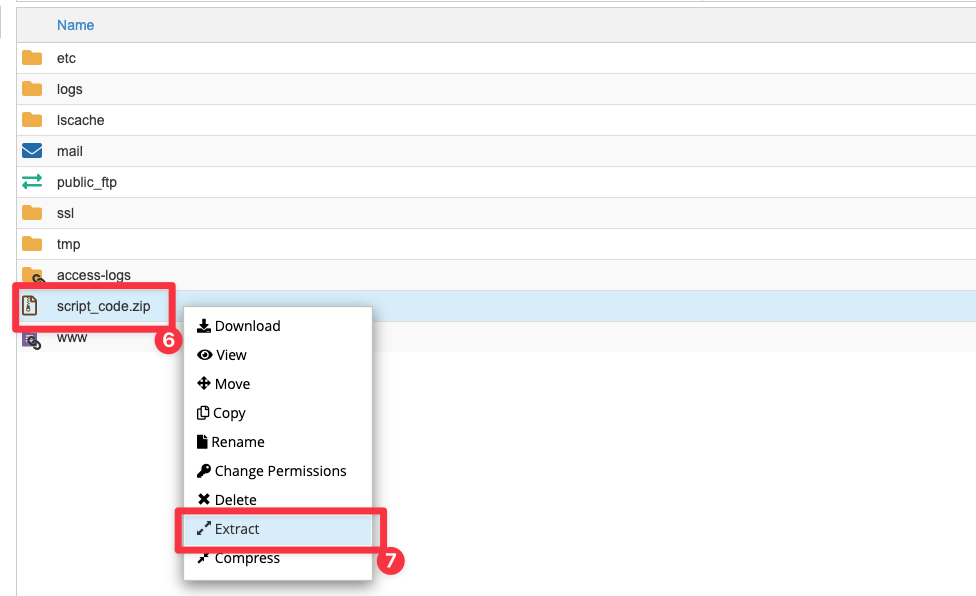
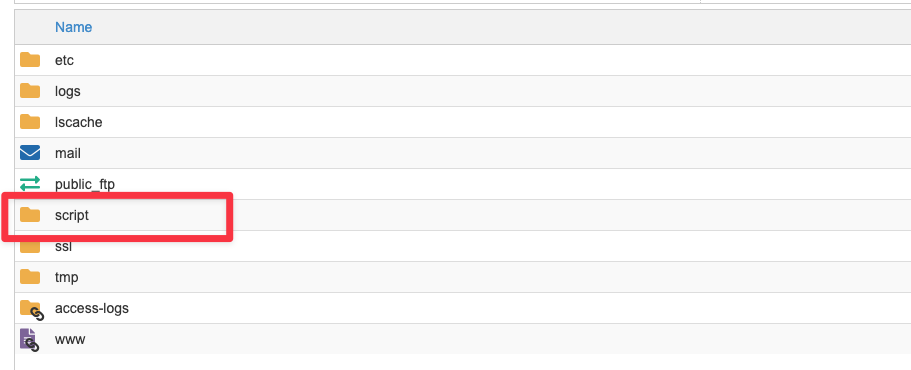
- Verify that the files have been extracted correctly
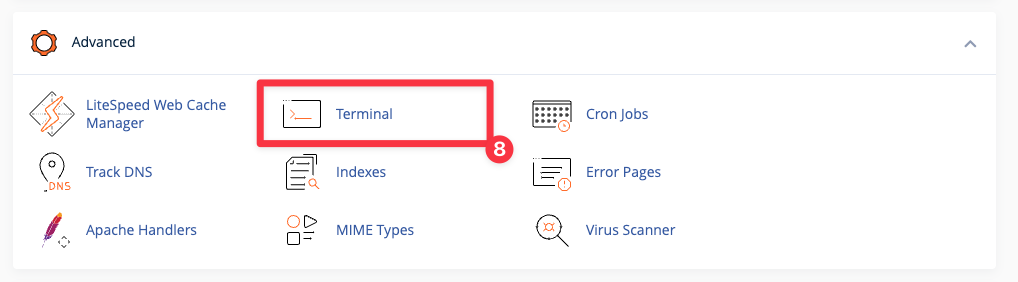
- Open the terminal
- Create a symbolic link between the
publicfolder inside the script folder and thepublic_htmlfolder
ln -s ./script/public/ ./public_html
How to configure in Plesk
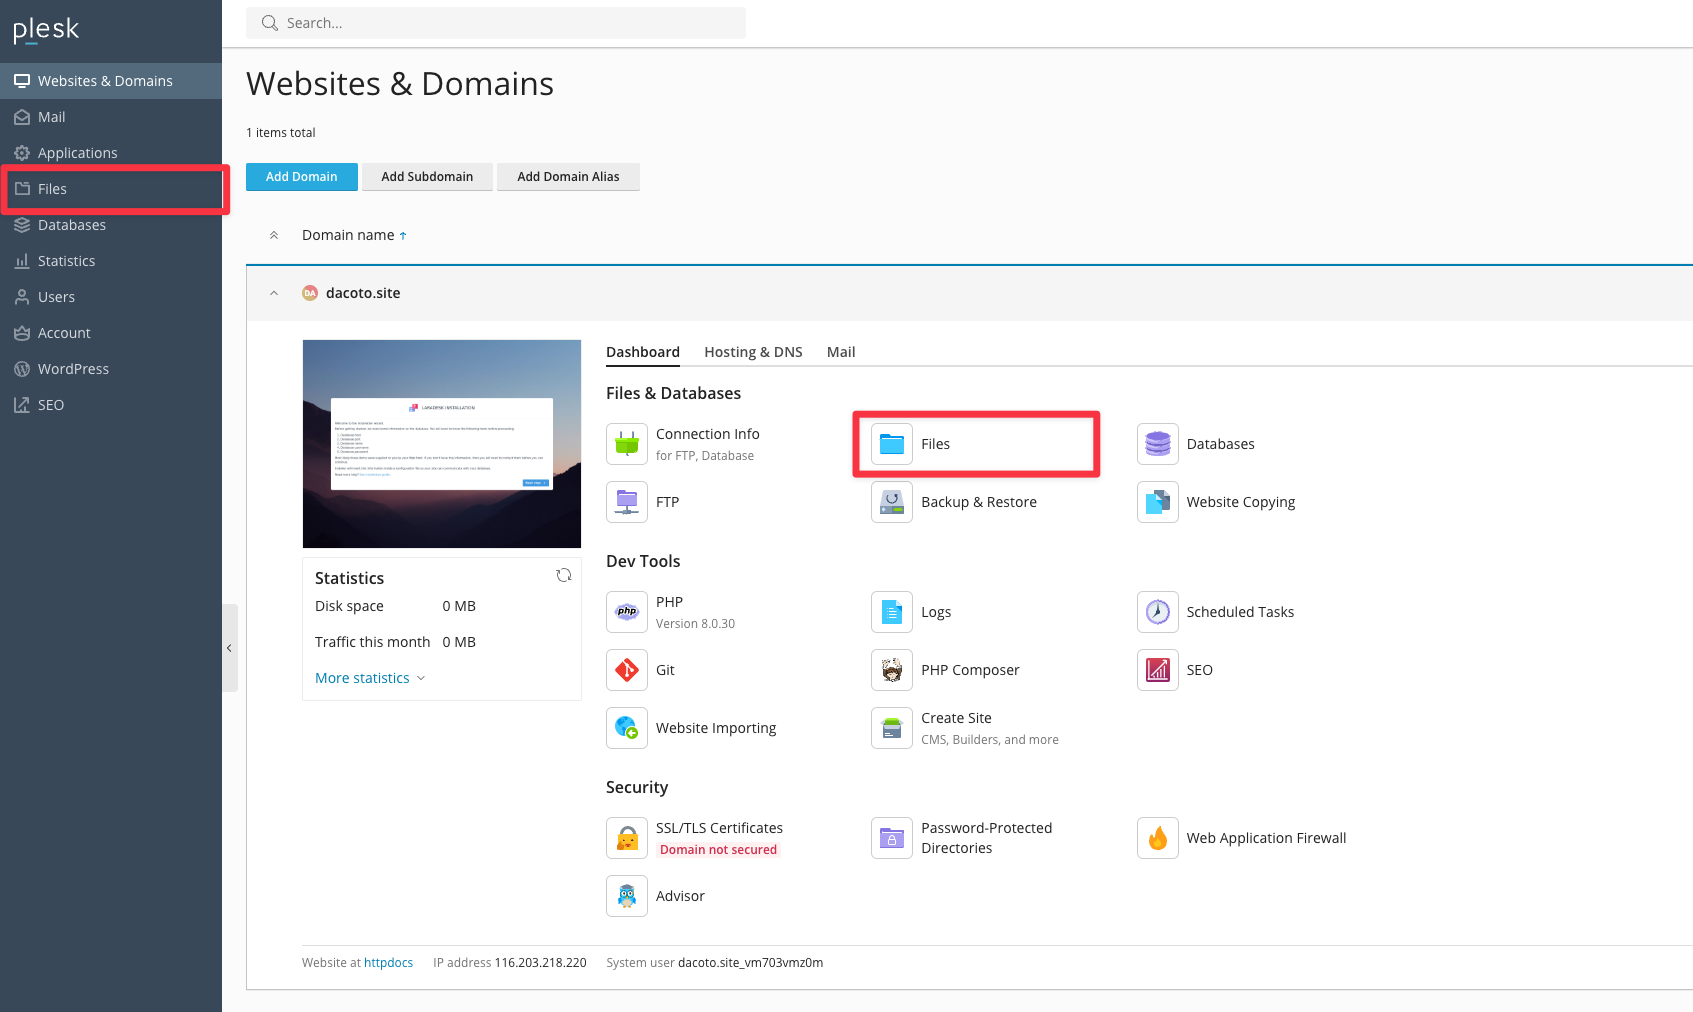
- Open the file manager
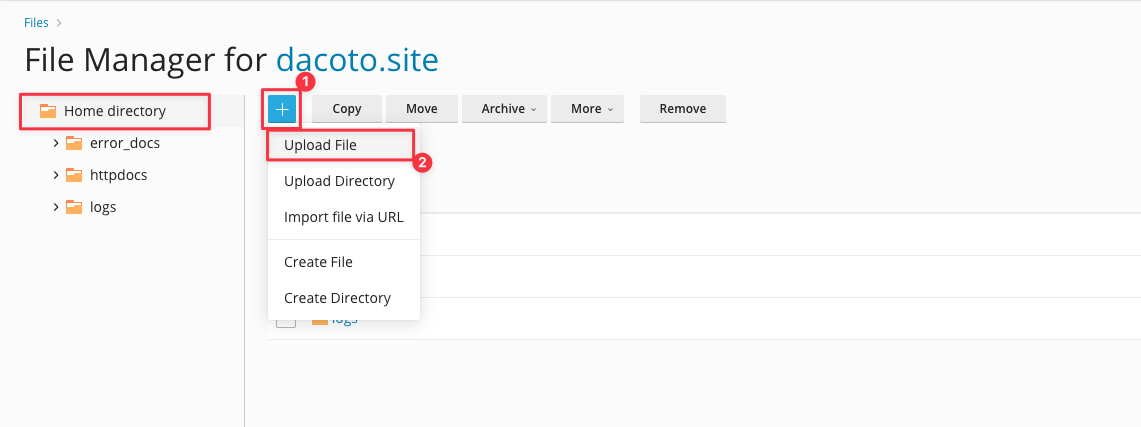
- Click on the "+" and on "Upload file" to select and upload the script zip files
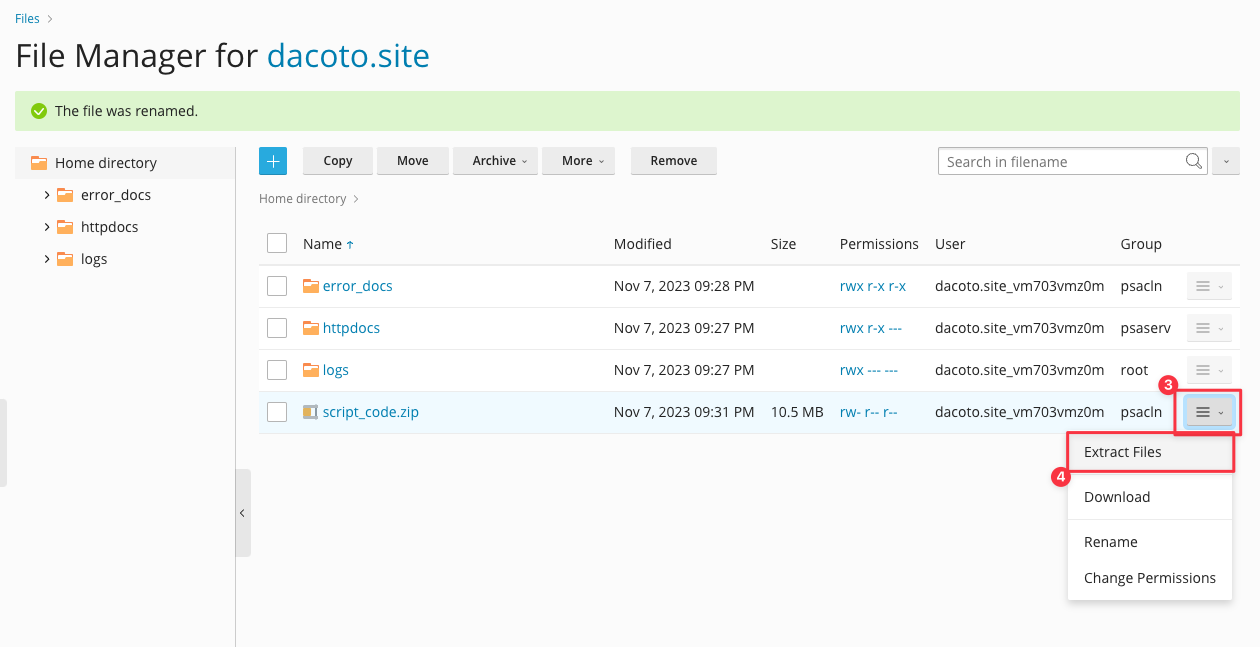
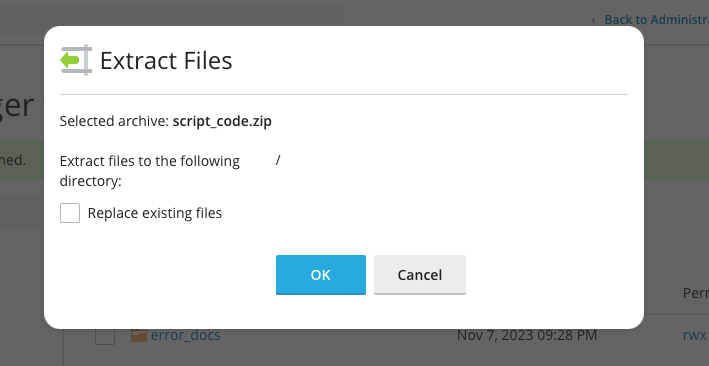
- Extract files to the root
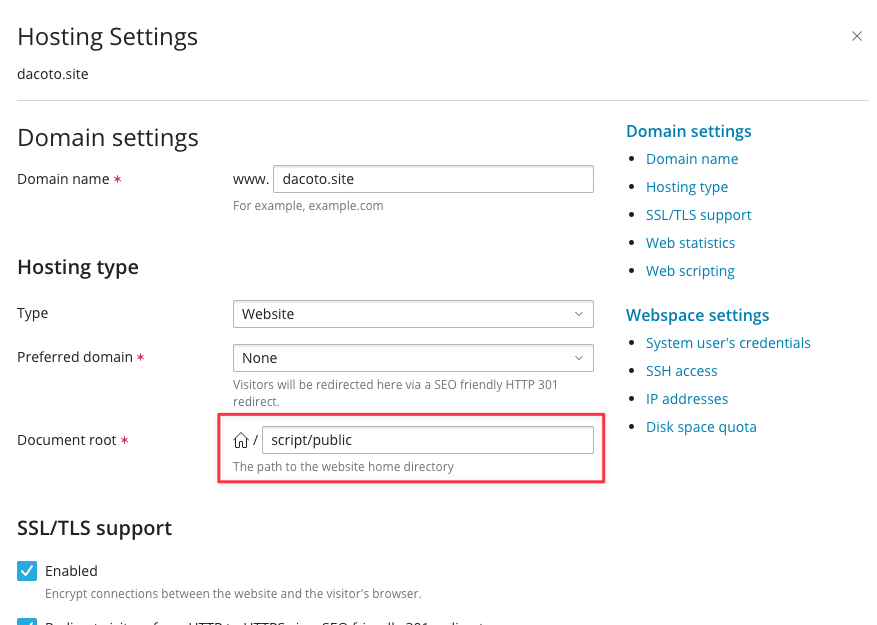
- Open the hosting settings editor
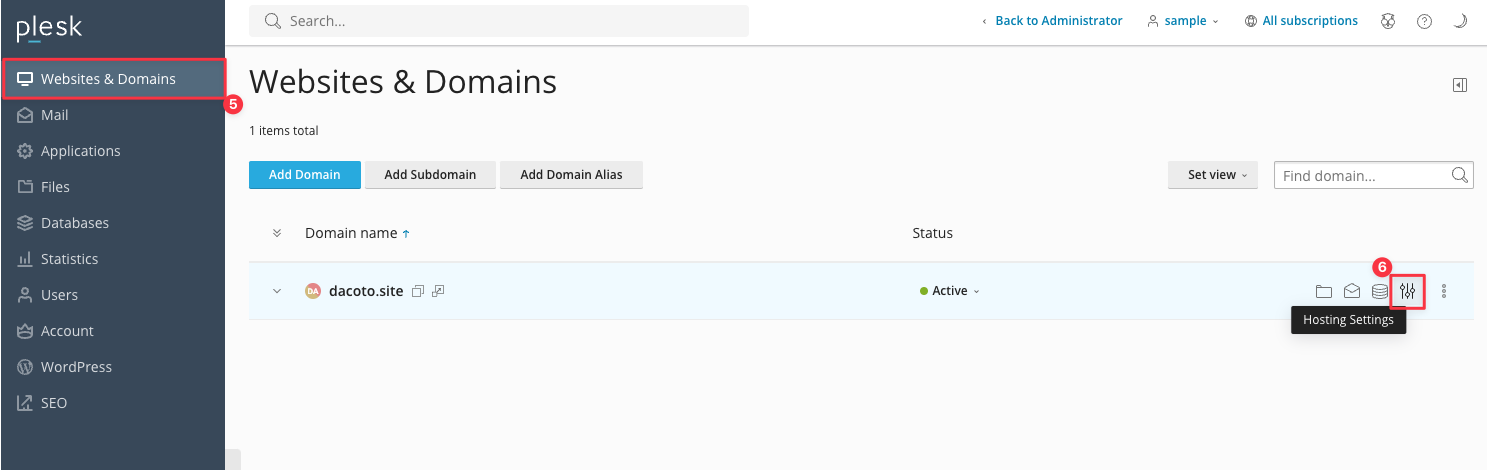
- Set the "Document root" with the public folder of the extracted files.
How to configure in localhost
You can follow the laravel documentation.
https://laravel.com/docs/10.x/installation#laravel-and-docker
INFO
If you have problems or if you prefer, we can install the script on your servers or wherever you want, contact us.
Configuration
Wizard
Some applications have an installation wizard, which allows you to apply all the settings and perform all the actions from the browser.
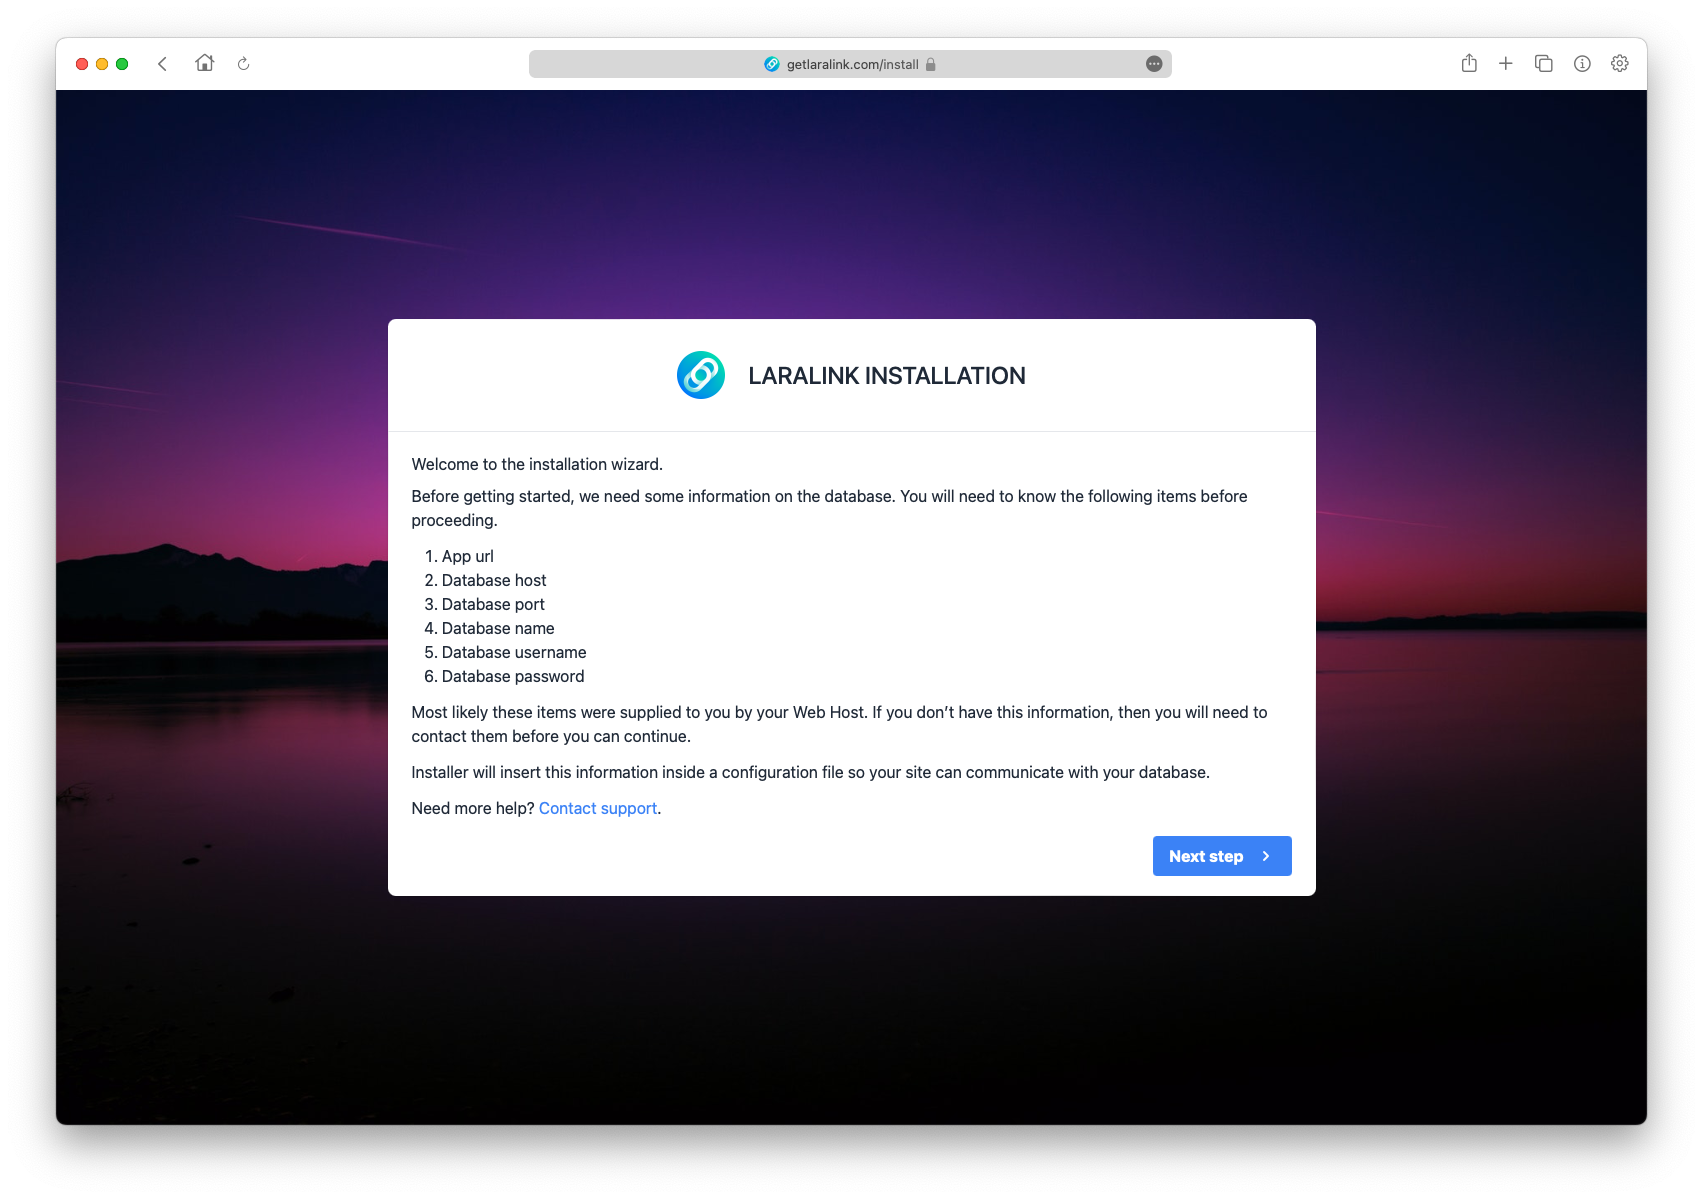
Installation wizard guide
- To access the installation wizard, simply access the application through the browser.
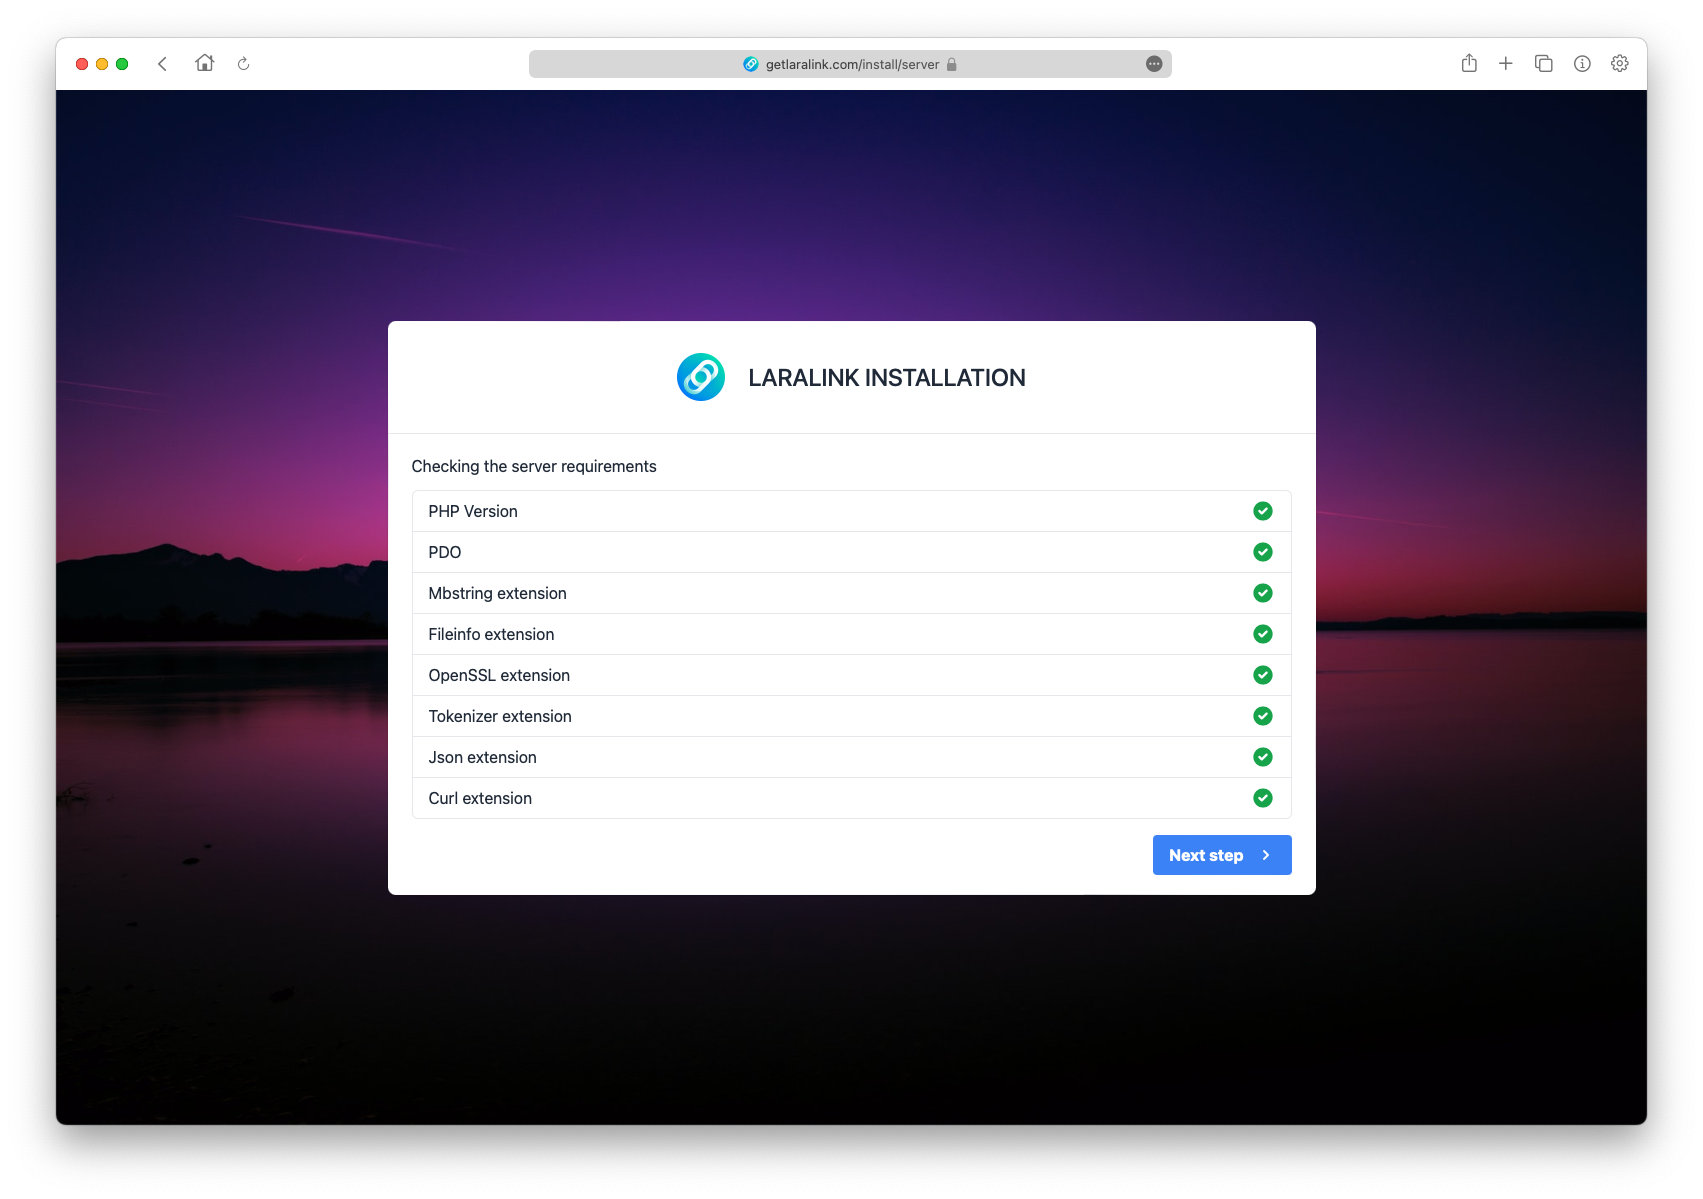
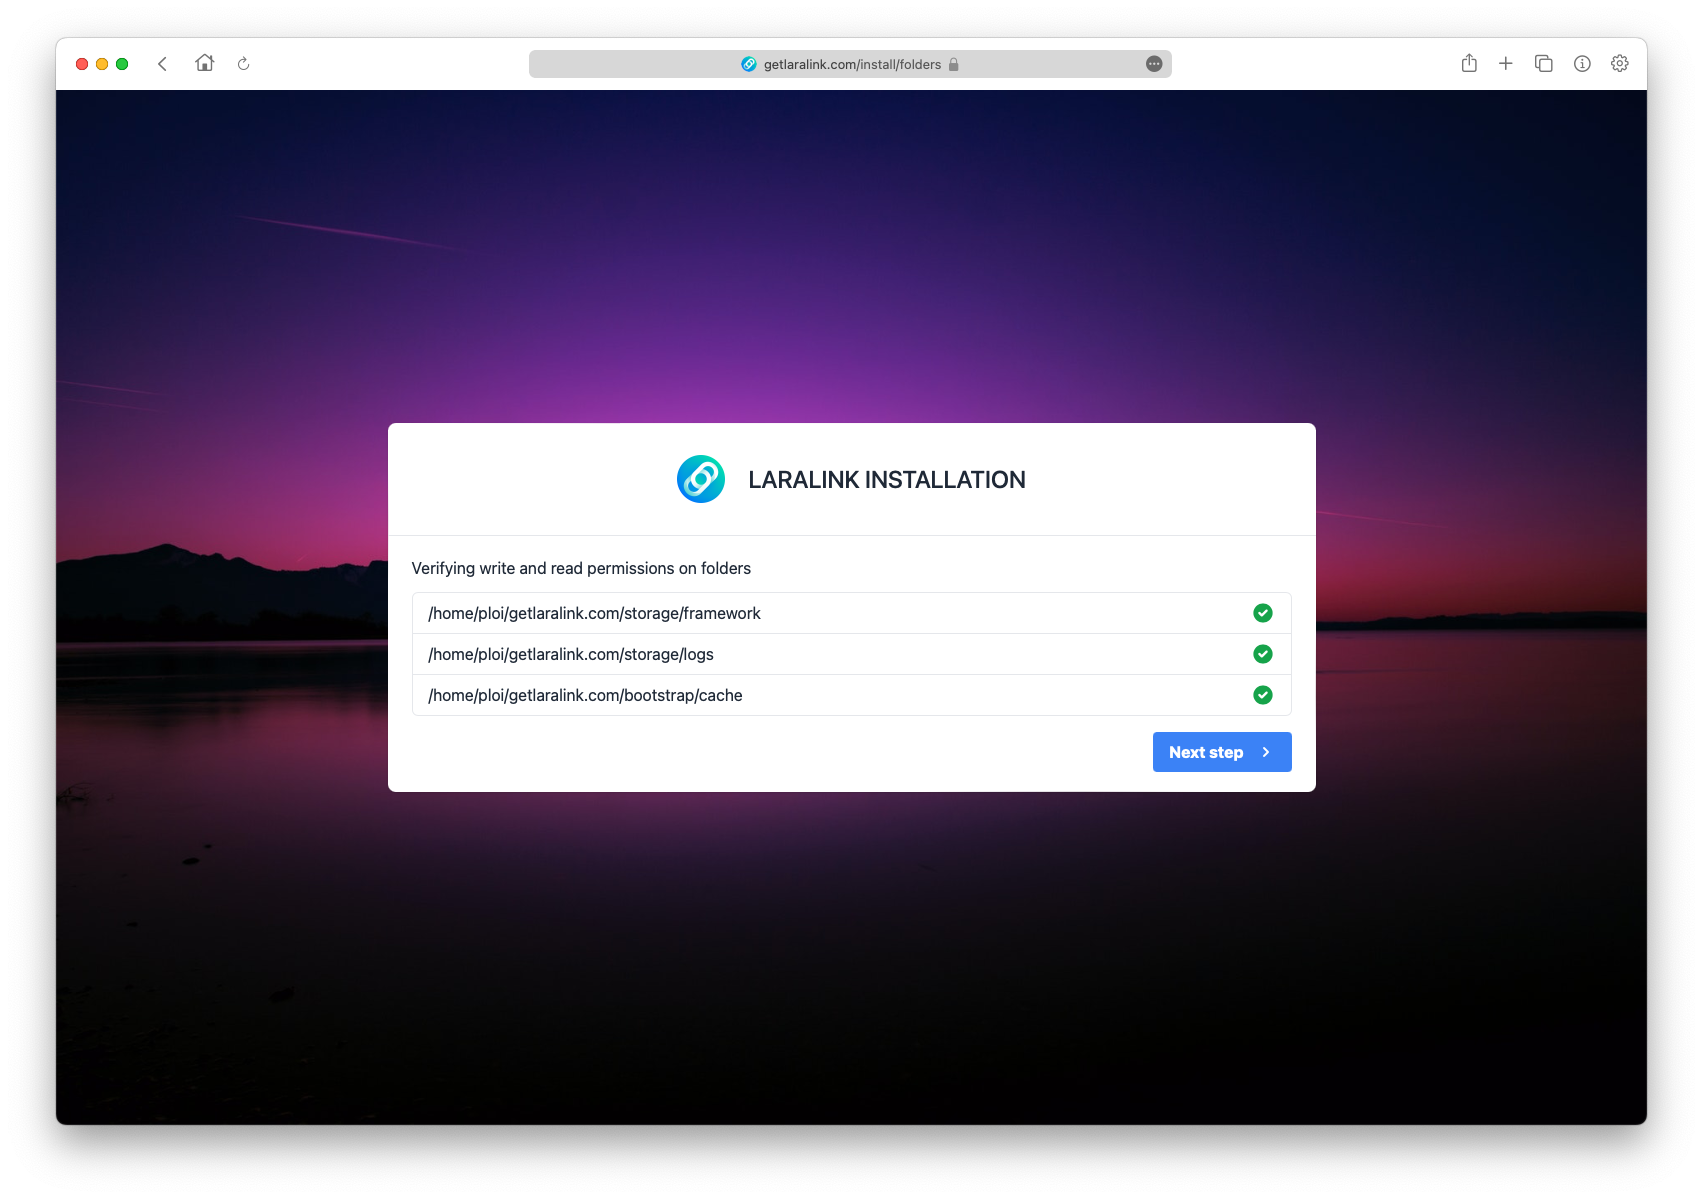
- The server is verified to meet the system requirements.
- It is also verified that the folders have read and write access.
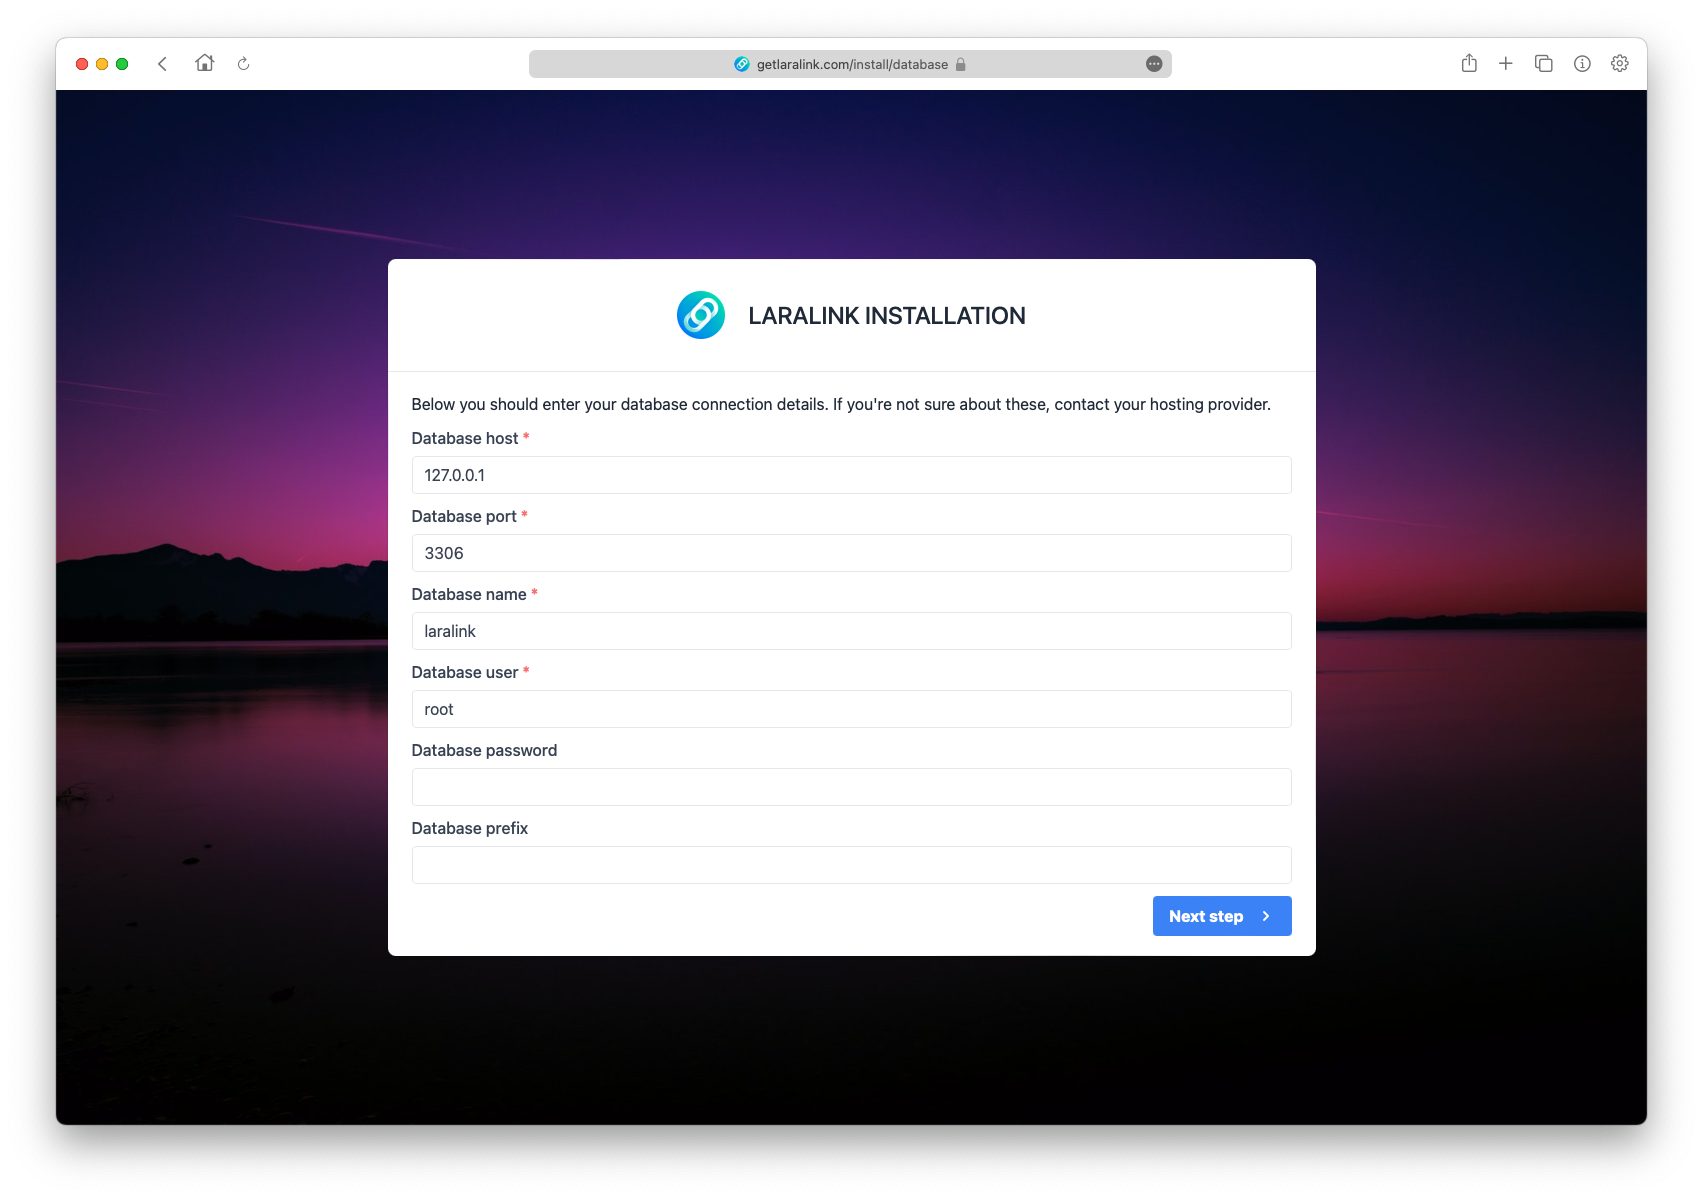
- The access data to the database will be requested to verify the connection and perform the migration of the tables.
- The connection to the database will be checked.
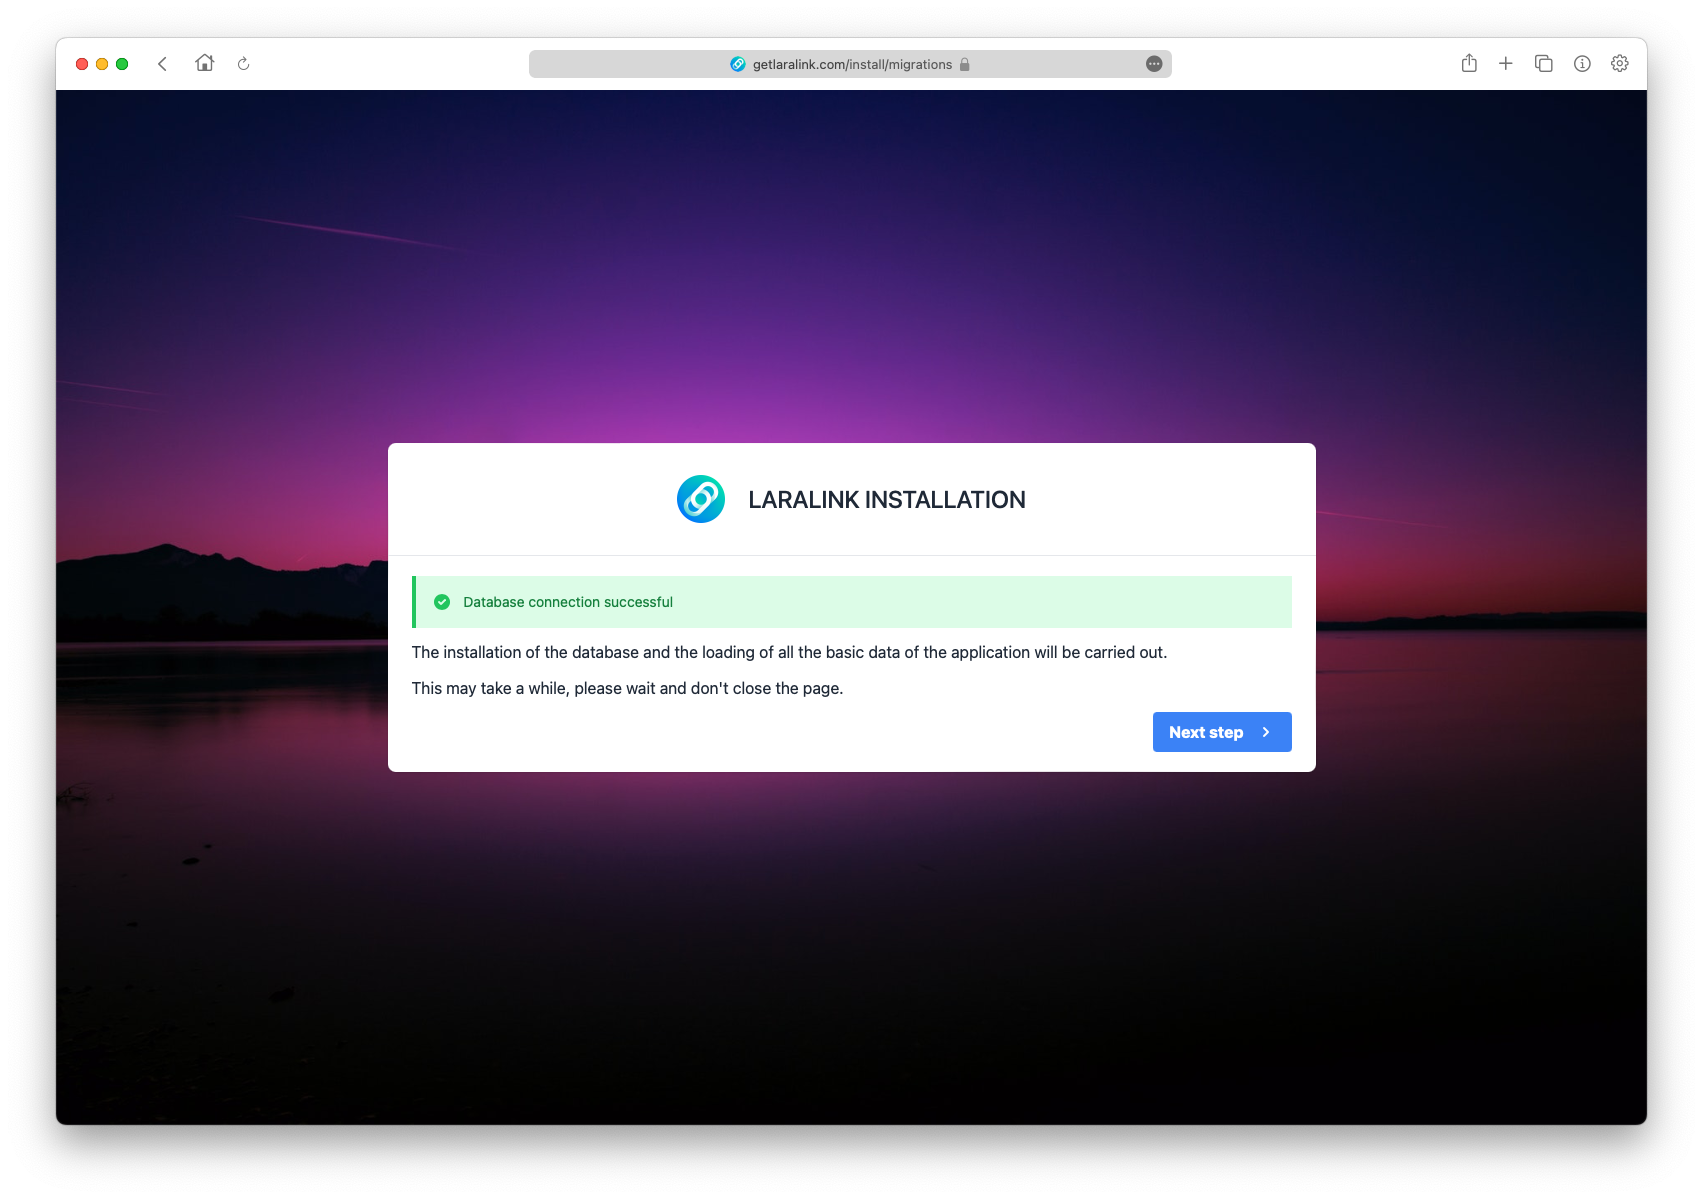
- The database tables and all the necessary application data will be created.
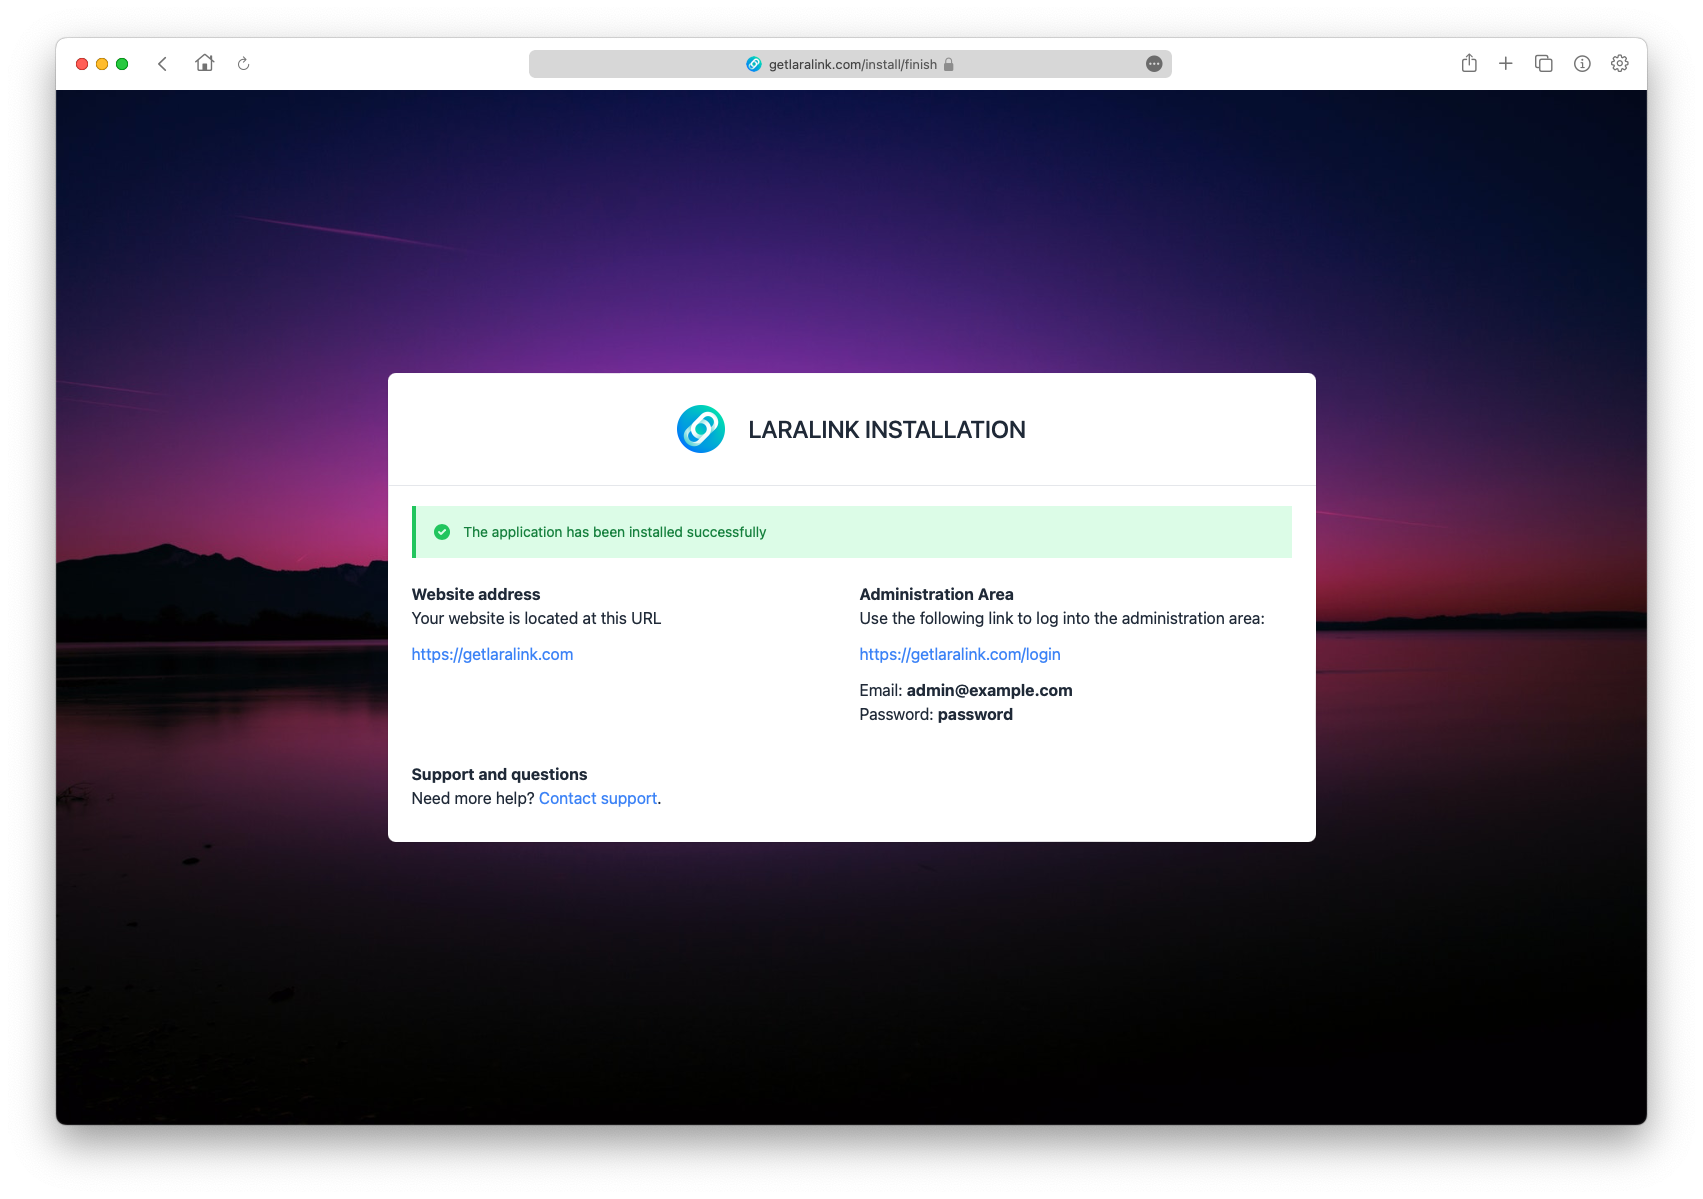
- The application has been installed correctly, you can access it with the default user data.
Manual
Whenever available, it is recommended to install from the installation wizard. If the installation wizard has problems, you can try to install from the terminal.
TIP
To perform the manual installation, you need access to the server by SSH.
In Windows, we recommend using the Putty client: https://www.putty.org/
Manual installation guide
- Install composer dependencies
composer install --optimize-autoloader --no-dev- Copy the .env.example file to
.env
cp .env.example .env- Generate application key
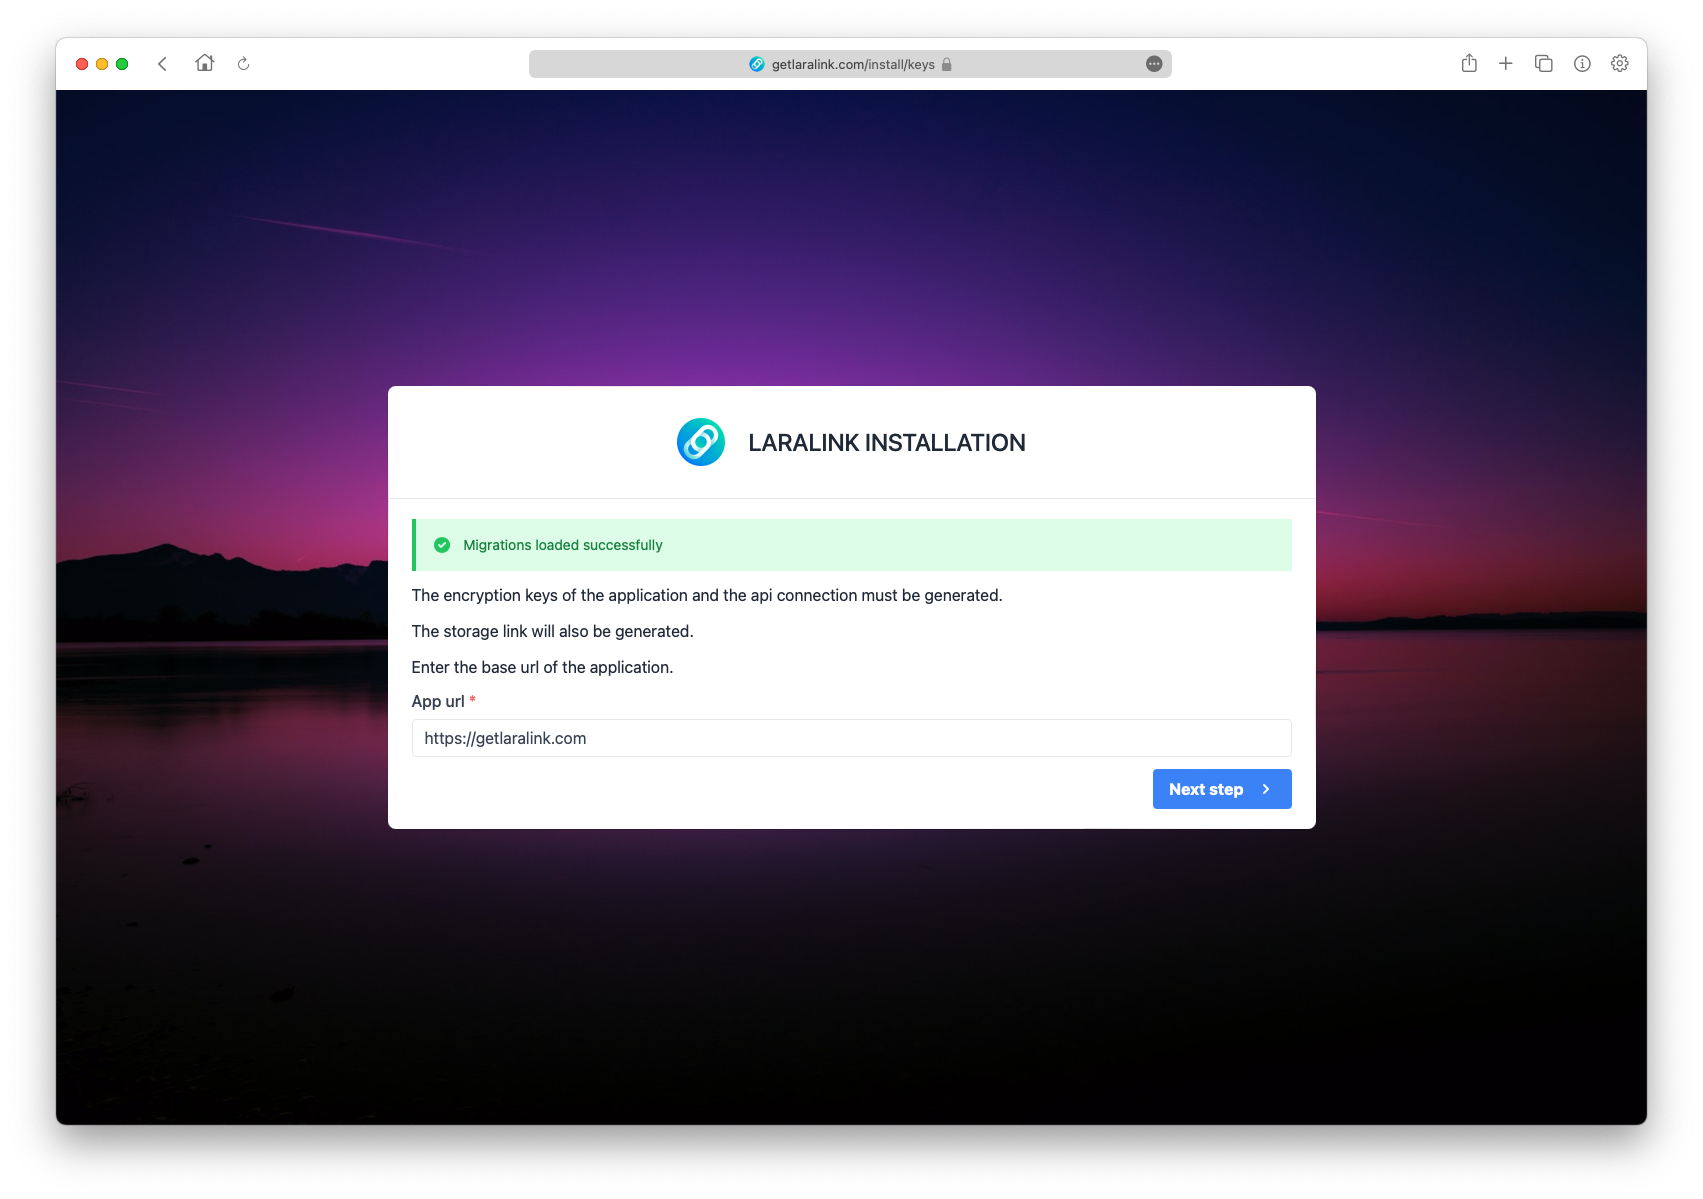
php artisan key:generate- Configure the app base url in the
.envfile
APP_URL=https://example.com # App base url- Configure the database connection details in the
.envfile
DB_HOST=127.0.0.1               # Database host
DB_PORT=3306                    # Database port
DB_DATABASE=laralink            # Database name
DB_USERNAME=root                # Database user
DB_PASSWORD=******** # Database user password- Run database migrations
php artisan migrate --force- Create default users
php artisan install:usersAccess admin dashboard
Edit the default user to avoid unwanted access.
WARNING
The installation script generates a default user that is recommended to change the email and password from "My profile" or Users manager page in admin dashboard.